

Want your guitar to play in tune all across the fretboard? Sure you do—who doesn’t? Well I’ve got good news for you. Adjusting your guitar’s intonation is one of the quickest, easiest, and cheapest ways to get your guitar playing better.
So, watch our video or read our article below—both don a good job of showing you how to intonate your guitar quickly and easily.
Remember when you first learned to strum a G major? For most beginners, this is their first grand accomplishment. Second finger stretched to its limit; each digit arched perfectly so all six strings hum in unison. Life was much simpler then.
I know many players who still use G major to tune their guitars. The familiar harmony helps them identify which string is slightly off. But these players have moved beyond strumming chords in their parents’ basements; they’re touring, playing five nights a week, and while most of them have upgraded to a digital pedal tuner, a lot of them still haven’t learned how to properly intonate their instrument.
Intonation is one of those things we don’t notice when we first start playing. Fretting near the twelfth fret on the B string might sound sharper than playing in open position, but for the first couple of years playing, you’d hardly ever notice it. But as our ear acclimates and our fretting skills sharpen, guitarists get gradually more advanced in their playing. This advanced playing requires not only greater technical skills—picking, fretting, strumming, etc.—but greater technical accuracy too.
This is where intonation comes in. An electric guitar is a precision instrument, and like all precision instruments—surgical scalpels, sniper rifles, or eight-cylinder engines—it needs to be precisely sharpened and honed in order to do its job well.
Knowing how to intonate an electric guitar—and keep it intonated—will heighten the accuracy of each string’s sound, sweeten each chord, and sharpen the sizzle of each new lick. Okay, that might be overstating it a bit, but the point is, you should play as in-tune as possible.
Quick note: we’re going to do our best to make this article accessible for players of all levels to learn how to set up a guitar—so if some of it seem obvious to you, bear with us.
What tools will you need to intonate your guitar?
Well, that depends on how far you want to go. Giving a guitar a full set up can involve everything from adjusting the truss rod, to dressing the frets, and much more—but for the sake of this article we’re going to focus on intonation.
Typically, the bare bones guitar set up and intonation requires:
- An accurate guitar tuner that shows a note’s frequency in Hertz (the more accurate your tuner, the stronger your intonation accuracy)
- A 1/4″ instrument cable, length doesn’t matter
- A hex key (or allen wrench) to match your saddle’s hex openings (where applicable)
- A screwdriver to match your saddle’s screws (typically a small flat-head or slotted-head; sometimes smaller, like screwdrivers for glasses repairs)
- New Strings (Intonating on old strings is like wearing your last pair of clean underwear inside out for double use)
In some cases, you may also need…
- A truss-rod hex key (or allen wrench), if you’re doing any truss rod adjustment
- Guitar polish, fretboard conditioner, and whatever other products you like to slap on your guitar
How to intonate your guitar
Before you do anything else, you’ll want to clean off your guitar, change your strings, and stretch the new strings a bit until they hold tune properly. Obviously, if you’re giving your guitar a more advanced set up (tweaking string action, adjusting the truss rod, replaceing any parts), you’ll want to get all of that done before you begin the intonation process.
Okay, now assuming you’ve got a clean guitar, with the action just where you like it, and a fresh set of the best strings you can find, properly stretched, you’re ready to get started.
1. Begin by plugging your guitar into the tuner and tuning its strings to their natural tuning (440 Hz for the 5th (A) string).
Once tuned, play some scales up the neck (pentatonic is fine for this), and listen for any buzzing or looseness in the string. Sometimes strings at the higher frets will feel a bit “slippery” when you finger them. Any of these is may be an indication that the truss rod may need more adjustment. (If you’ve done this before, and are comfortable with it, go ahead and adjust your truss rod. If you haven’t adjusted your truss rod before, today is not the day to start.)
2. To check your instrument’s intonation, check the frequency of each string at the 12th fret.
To do this, keep your guitar plugged into the tuner, fret the 12th fret, and play each string. The 12th fret should be in tune with open string’s frequency. If tunings are the same for each string, you can stop reading here; your guitar is properly intonated. (Maybe you’re one of those fancy cats with a double-locking Floyd Rose…) When the 12th fret is out of whack with the open string, this signals an intonation issue.
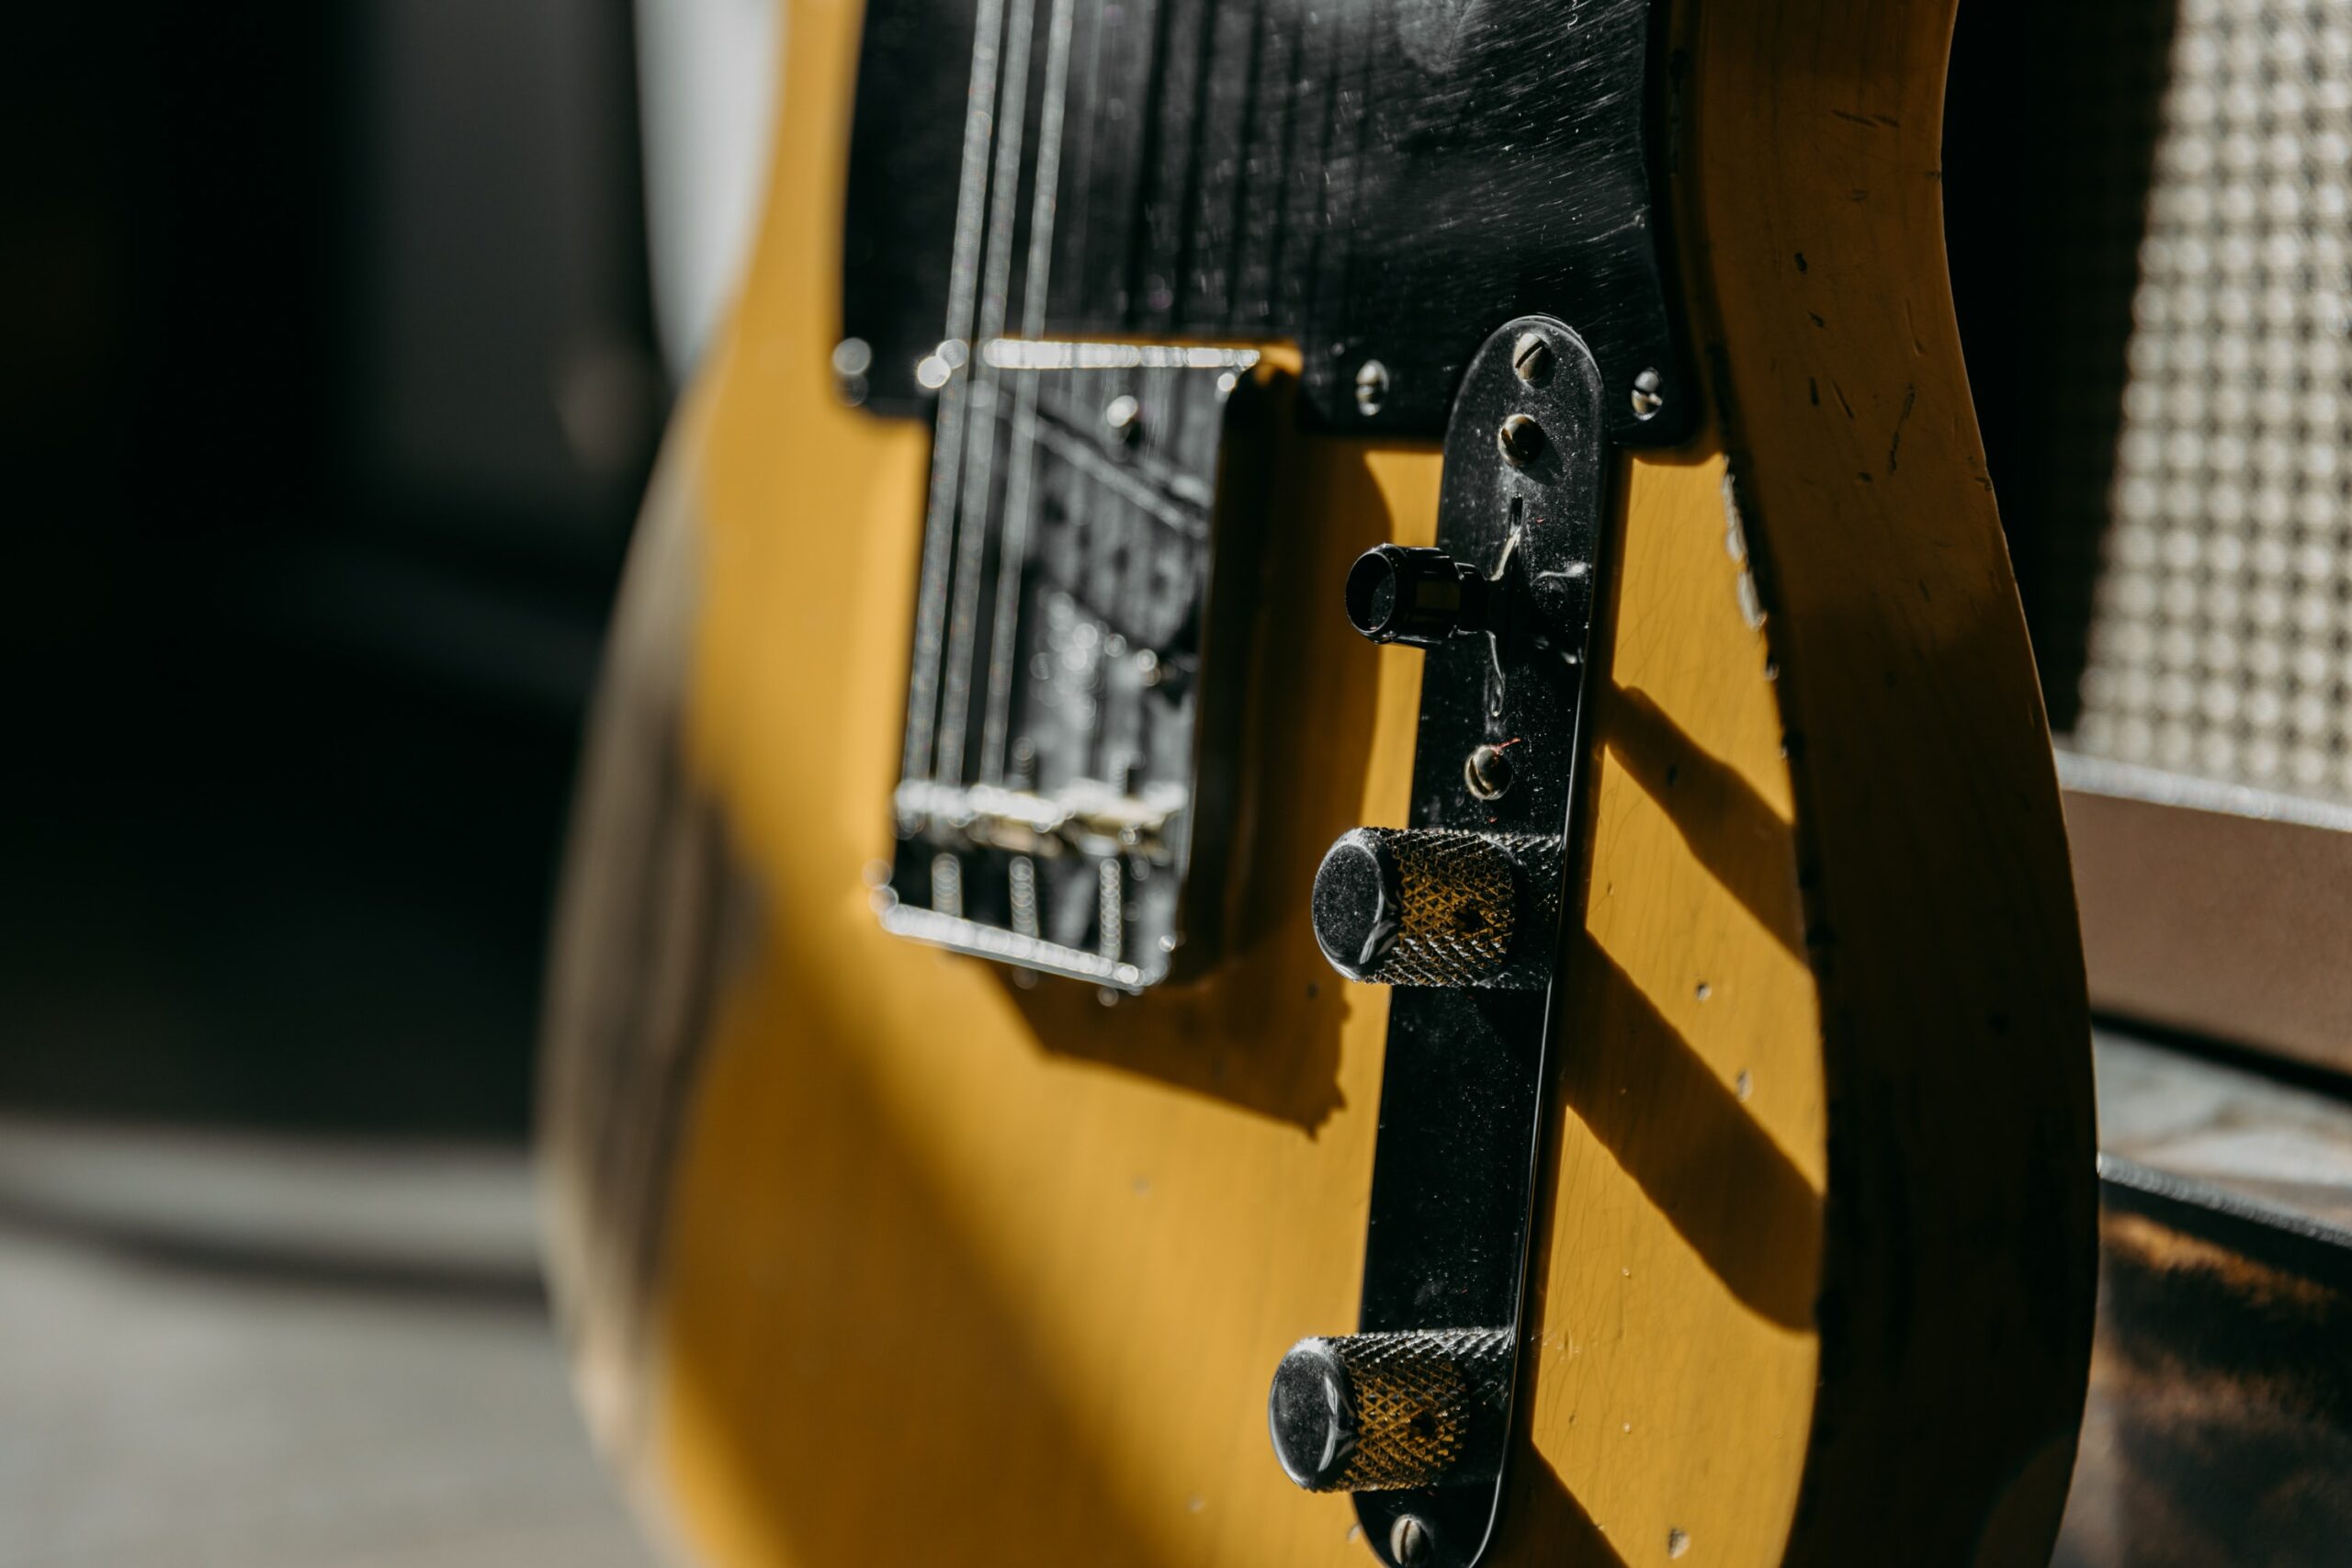
3. Check out your bridge to determine if it’s a hardtail or tremolo Fender-style bridge or a Tune-o-matic, Gibson-style bridge.
For the newbies here, a Fender-style bridge (for today’s purposes at least) is a one-piece assembly where strings pass from the bottom of the bridge (or through the back of the guitar) over a spring-loaded screw and through an individually-adjustable saddle up the neck. A Tune-o-matic bridge is typically a two-piece device with the bridge separated from the saddles; the strings pass through the tailpiece (which can be adjusted up or down) and each lays over a saddle on the bridge (which can also be adjusted up or down).
Now, the act of intonating a guitar is, basically, adjusting the scale length of each string (and in some cases the height of the saddle as well) by the smallest of measurements so that each string’s notes are directly in line with its open-string tuning.
4. Starting with the first string, tune it to standard pitch and check its 12th fret tuning. Begin to improve the intonation of the harmonic by adjusting the position of the saddle.
The easiest way to get this done is a bit of trial and error. Move the saddle back at first (righty-tighty on the Fender, lefty-loosey on the Tune-o-matic) and check the harmonic frequency; if that doesn’t fix it, then turn the opposite direction to move the saddle forward until the fretted 12th matches the open-string note. (I start low because it’s easier to tune a flat string accurately than it is to tune a sharp string, in my humble opinion of course.)
On a Fender-style bridge, additional adjustments to the saddle may be needed. Each saddle can be adjusted up (lefty-loosey) or down (righty-tighty) with the screws at its sides. Again, begin by lowering both sides equally, checking the fretted 12th; sometimes one side of the saddle will be slightly higher than the other in order for the string to be perfectly intonated.
5. Double check your string action.
Before you repeat the saddle adjustment on the remaining strings, quickly check the height of all of the saddles to ensure one more time that the action of the strings is where you want it on the fretboard, and you don’t have any buzzing . On a Tune-o-matic bridge, raising the saddle’s height (by loosening the screws at each side of the bridge) will alter the tuning of each string. Similarly, on a hardtail bridge, each saddle’s height affects its string’s tuning, so be careful.
Make minor adjustments to both the position (closer to or further from the bottom of the string) and the height (closer to or further from the pick-up) of the saddle until the string sings how you want it to. Then, move on to the other strings.
6. Repeat the intonation process with each of the other strings.
Like with the first string, begin by tuning each successive string to its standard pitch, checking the frequency of the string at the 12th fret, and adjusting the saddles up or down as before.
Now just one more thing…
Playing with a guitar’s intonation can have a ripple-effect on other parts of the guitar. Once you’ve gotten each string where it should be, you may want to tighten the tuning peg assemblies on the head of the guitar (i.e. the screws connecting each tuning peg to the guitar) and re-tune the guitar, again using the electronic tuner.
Sometimes, when players forget this step, strings quickly fall out of tune again and they feel they’ve wasted their time. Because electric guitars are such precision tools, the slightest looseness in any part can wreak havoc on the whole instrument.
Once your guitar is back in tune and totally intonated, plug it into its amp and strum a G Major chord. Do you hear those angels singing? Brings you back, doesn’t it?


4 Responses
I have found that fretting naturally sharpens a strings pitch, due to the slight, downward pressure on a string which occurs during fretting, so I usually tune open strings slightly flat, a cent or two. Then, when I fret the strings, they are in tune.
You should always set intonation in the playing position. This is best explained in Dan Earlywine books and articles as well as others. In short, the neck has forward pressure similar to when someone pushes on the neck to change the pitch. (Some necks are whisper than others) Also, harmomics “are not accurate” because they are not always touched in the same place. I rarely comment on anything like your tutorial but I know some people may be turned off. That said, I love your strings and want you to do well.
I haven’t played in a while The information that I was reading is very informative and help me bring back a lot of things I forgotten Thank you for that help
This was super helpful, thanks dudes! I’ve always struggled with intonation, I know the basics, but it never feels like I’m doing it just right. Was good to see someone put it into plain English. Could use a little more guidance on adjusting it for my Floyd Rose, but this was a good place to start for me.